Node.js is a runtime environment to run JavaScript code outside the browser. Which is built on Chrome’s V8 JavaScript engine, We often use Node to build back-end services like API and frontend using React, Angular, Vue.
We often work with many projects, some of them have been made a while back and that project uses a particular node.js version to run, and we want to upgrade that or even test with latest version of node without breaking our exisitng workflow like I need the way to swtich back to older version of node very easily without much efforts.
The Solution?
NVM :- Node.js version manager for Windows
Let’s Begin with the Installation
Download the latest version from the below link:
https://github.com/coreybutler/nvm-windows/releases/latest
Download the nvm-setup.zip
Extract the Files into a particular folder and begin with the installation
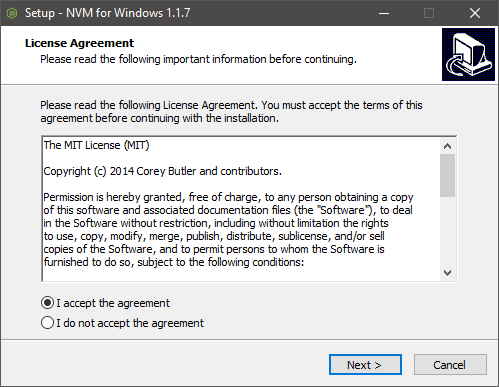
Complete the Standard Installation Process by Next.. Next..
Verify the Installation:
Open Command Prompt
Type: nvm
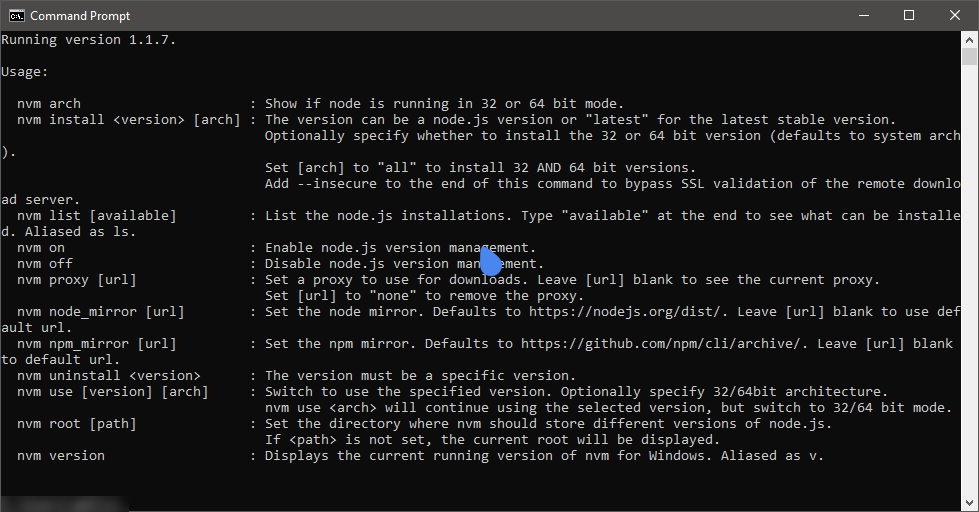
It would look something like this.
We have successful installed the nvm 😉
Let’s see how to install multiple node.js versions and swtich between them.
To install the latest node.js version
Type: nvm install node
To install the specfic node.js version
Type: nvm install <version-no>
Example: nvm install 8.11.3
Once all the installation is completed.
Verify the installed version using: nvm list (This will display all of your versions which are available to use)
Switch between node.js version
Type: nvm use 14.0.0 ( nvm use <version-no>)
Conclusion
In this tutorial, we used nvm in order to manage and run specific Node.js versions.
Thanks for reading, I hope you learned something new today and this will help you with the node.js projects development, share the article with your friends.
Did you Know that?
The tool has also recommended by Google, Microsoft and NPM.
Also The tool is available for Linux and Mac as well.